This post may contain affiliate links which means I may receive a commission for purchases made through links. Learn more on my Private Policy page.
An Introduction to Sanding and Sandpaper
Sanding is an essential part of woodworking, although not always the most enjoyable. Understanding its importance, the range available, and its various applications can make a world of difference to your finished product. This article will cover the most common sanding and sandpaper options for home workshops, including different grits, their uses, and some tips on choosing the right sander tool for your project.
Understanding Sandpaper Grits
Sandpaper comes in varying degrees of coarseness, indicated by a number. The larger the number, the finer the paper. For woodworking, we recommend stocking these three grits:
1. 80 grit – for quickly removing sections of wood; also useful for shaping, carving, and stripping paint
2. 120 grit – a less aggressive option for shaping, good for slightly easing over sharp edges, and ideal for most assembled projects
3. 220 grit – excellent for sanding between coats of finish, such as polyurethane, and preparing the surface before painting
Important Tips on Grit Applications
– For oil finishes like tung oil, sand the wood smoother with 220 grit before applying
– For lacquer or polyurethane finishes, there’s no need to sand any further than 120 grit
– For painted projects, focus on removing dents and imperfections; the paint will do the rest
– Most fine grit sandpapers are for finishing, not for use on bare wood
How to Use Sandpaper Efficiently
Hand sanding with a sanding block or just your hand is the least expensive way to sand but can quickly become tedious. For an efficient, versatile sanding tool, consider investing in a random orbit sander.
Random Orbit Sander
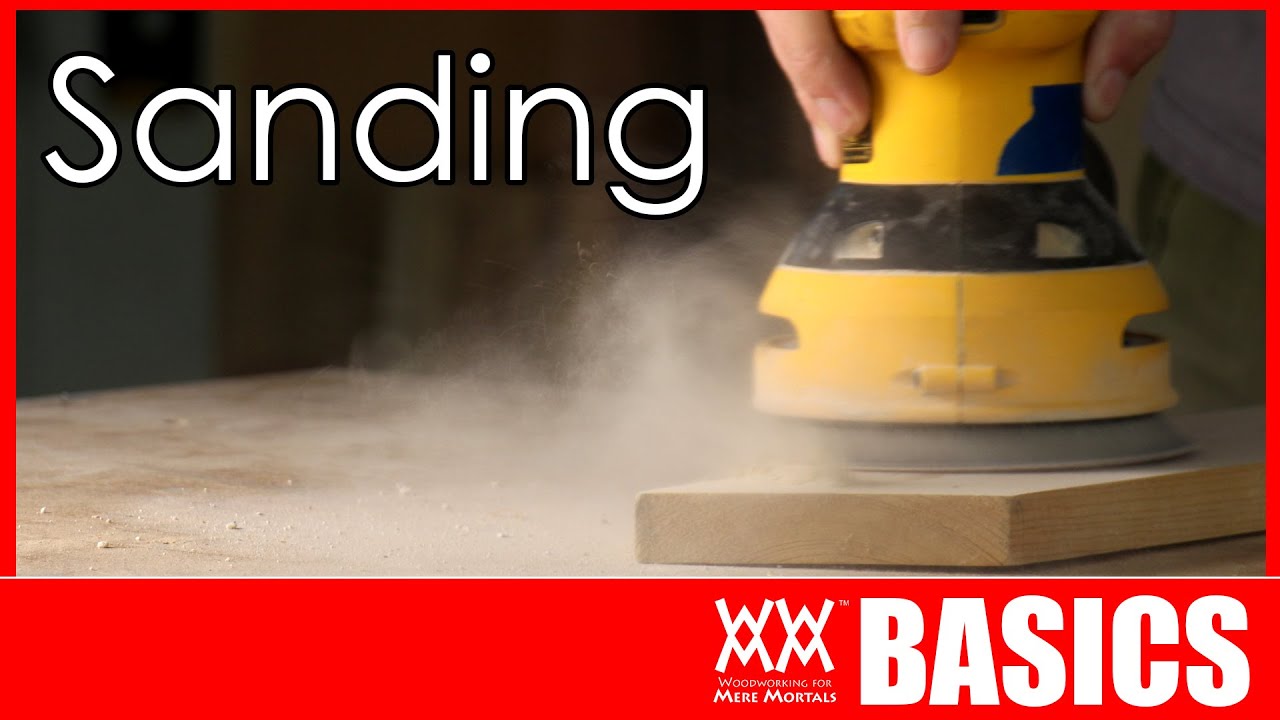
This type of sander moves in random directions, helping prevent circular sanding scratches on your work. They use sandpaper disks with hook and loop (Velcro) attachments and often come with an option to collect sanding dust.
To use a random orbit sander, simply switch it on and move it around the surface of your work. It can cover large surfaces, like tabletops, efficiently. Be sure to check your progress with your hand for smoothness and examine the wood at a low angle to catch any missed imperfections.
Other Types of Sanders
While the random orbit sander is the most versatile, there are other types of sanders that you may find useful for specific tasks:
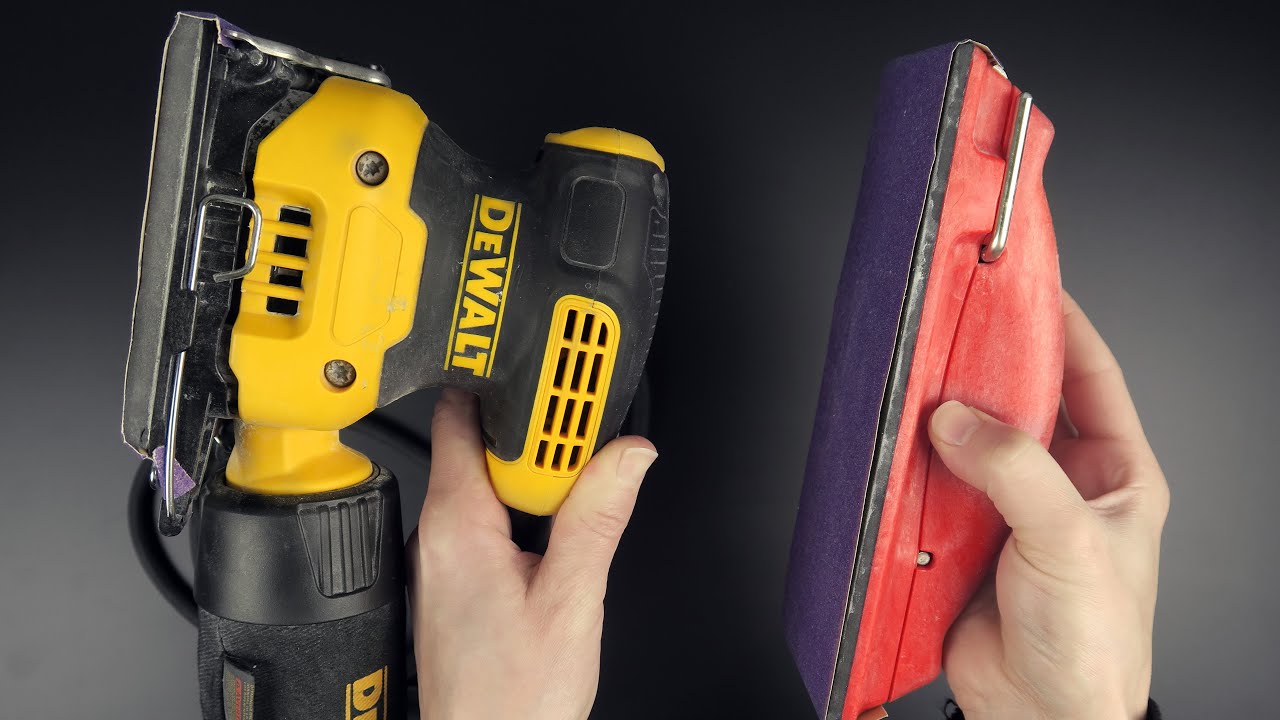
Belt Sander
A belt sander is super aggressive and not recommended for precision woodworking. It’s better suited for construction projects or rough carpentry where a lot of material needs to be removed quickly. For better control in a woodworking shop, mount it upside down and take the workpiece to the sander.
Benchtop Sanders
Benchtop sanders come in various forms, such as a combination strip sander and disc sander. The tilting table on these models allows for better control and the ability to sand beveled edges. These sanders are especially handy for sanding off ridges left by band saw cuts and for sanding curved pieces down to exact lines.
Oscillating Spindle Sander
This type of sander is ideal for sanding inside curves with ease. With multiple spindle sizes and an up-and-down movement while spinning, it maximizes paper use and reduces scratch patterns.
Safety Tips When Using Sanders
Sanders are generally safe power tools; however, it’s crucial to remember the fine sawdust they create. Make sure your workspace has good airflow, the tool is attached to a shop-vac, and you always wear a filter mask when sanding.
Conclusion
While this article only scratches the surface of sanding and sandpaper, it’s a solid introduction for woodworking enthusiasts looking to up their game. Consider investing in a reliable sander, stock up on essential sandpaper grits, and always focus on safety when using these tools. Happy woodworking!
This post may contain affiliate links which means I may receive a commission for purchases made through links. Learn more on my Private Policy page.


He reminds me of the dad from modern family 😂😂😂 it's Phill yall
Not only does the presenter know his craft well, he is also an awesome communicator and articulates the content in a pragmatic and helpful way along with valuable tips.
Not watching YouTube anymore they kicked BCP OFF YOUTUBE BAND YOUTUBE BAND YOUTUBE BAND YOUTUBE BAND YOUTUBE BAND YOUTUBE BAND YOUTUBE BAND YOUTUBE BAND YOUTUBE BAND YOUTUBE BAND YOUTUBE BAND YOUTUBE BAND YOUTUBE BAND
Not watching YouTube anymore they kicked BCP OFF YOUTUBE BAND YOUTUBE BAND YOUTUBE BAND YOUTUBE BAND YOUTUBE BAND YOUTUBE BAND YOUTUBE BAND YOUTUBE BAND YOUTUBE BAND YOUTUBE
Quick, concise, and very helpful. Thank you for this. Heading to a big box store now to get me some 80, 120, and 220. I like the clamping the belt sander down as well since I hate using it freehand for stuff.
With 37 yrs doing DIy jobs came across abranet disc velcro backed better than any product
Great knowledge maestro 🙏
I worked in a high end custom furniture factory, where no expense was spared!
We used various grits of steel wool after through sanding moving up to finer grits, then for that super fine delicate feel of wood.
I suppose as a hobbyist, thats good enough to just use your suggested sandpaper grits, but if ya want to up your game & price, learn to how sand properly and especially learn to add worm holes, bump marks and a few fake split marks which add value & character, which would be called, 'distressing' like an old antique…
Crazy how the wealthy prefer shit like that!
how do you sand edges after its been routed?
Great help thanks sew much
Correct me if I'm wrong, but it looks to me like you're moving that r.o. sander around way too fast (at 5:30). Good way to leave pigtails in your workpiece.
Thank you, your videos help me alot…I just start to learn about woodworking…
You're the greatest buddy!!!
Any grit higher than 220 is purely optional. However, for anyone who absolutely loves sanding, quit using polyurethane and just use an oil finish and sand up to 1000-grit paper or higher if you want to, apply wood wax, and buff your workpiece to a beautiful finished product with a random orbital buffer.
So I took off all my tiles on my floor, but need the right sand paper for the job. What would be the best grit? Because I still have the old flooring adhesive there.
I purchased a random sander, and it works well. Thanks Steve for you're insight on woodworking stuff.
Let's see if I have this correctly
60-80 = Basic material removal
120 = Beginning of the smoothing process
220+ = Final grit for Smoothing
6:03 🤣
Thanks! I am trying to sand old 60 year old varnish off maple doors. I was afraid to to 60 grit so I got 80, 150, and 220. It’s taking me some time as I just want to put a clear coat over the final sanding. Yes. I hate sanding but the doors are not standard sizes. So I thought this would be easier 😱
I have a question, I have an orbital sander and I put wood filler on my furniter, not there are some humps, which sanding paper do you advice? And will then the paint do the rest?
What type of sander and sand paper would you recommend for sanding the paint and front of an old dollhouse? I want to smooth it and remove the paint but not damage the wood.
The "hook" on my orbital sander keeps I assume melting and losing it's grip, I have to stay on the lowest speed. Also the "loop" on the back of the sand paper itself loses it's grip really fast, way before the grit wears out. I try not to to put any extra pressure on it, is there some magic velcro out there that I don't know about? Love my orbital sander but it's a struggle.
Thank You!! Again. The newbie.
Can you show how a sand disc should look like when it needs to be replaced?
I never know cz sometimes it builds up paint and kinda go flat….
Tks for the videos!!!
i like sanding